About the Product
This is a brand new watch designed and promoted by our valuable customer.
Vacuum Casting The Prototypes
The valuable customers want a real full production-quality rapid prototypes of their design idea for visual presentation and promotion. They want us to produce the samples by our professional prototype manufacturing facilities. We proposed vacuum casting service as it is fair cost since you don’t need any hard steel injection molding tools when using vacuum casting. It is also a fast and high quality way to make low volumes of their products as they ramp up to full production.
There are some simple steps to create vacuum casting prototypes. It need to make silicone molds that can be used for 10 or more copies of an original pattern.
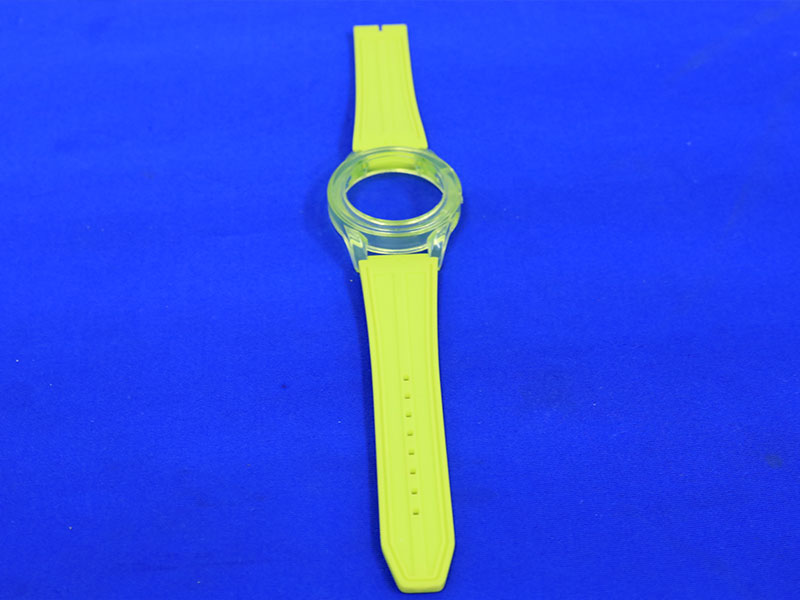
Step One: Making original Patterns
Step Two: Preparing the Silicone Molds
◪After finished the patterns , we then built molds for vacuum casting. Preparing these molds required us to be careful to many important details including the following.
——————————————————————————————————————————————————————————————————————————————————————————————————————
We need carefully analyze difference kind of parts. We need to find out the exact place to locate the dividing line for each part. The dividing line is where the mold will be opened into two or more sections. This line is important as: We need to make sure we can easily remove the part later without damaging the surface or losing fidelity on any important features. After the line was located, we placed a thin film or skirt around the perimeter of the part. This film is needed for allowing the mold to separate after it’s solidified. All patterns need to be mounted on a dowel rod. These rods are used to suspend the patterns inside the molding box, preventing the patterns from touching any of the sides or the bottom when the silicone is poured in.
● Pouring the Molds
Liquid mold material will be poured into the work boxes.
● Curing the Molds
After poured, the boxes were placed in an special oven and keep there to cure for a certain time.
● Removing the Master Patterns
When the molds were fully cured, the molds were opened and the patterns removed.
Step Three: Making Copies
 info@bofongrapid.com